
Moving your website to a new host can feel like a huge undertaking. It involves picking a new provider, carefully backing up every file and database, moving them over, and then pointing your domain to the new server. But here’s the thing: if you map it all out first, you can pull it off with virtually zero downtime.
The secret is doing all the homework before you even think about moving a single file.
Your Pre-Migration Game Plan

Jumping into a website migration without a solid plan is a recipe for disaster. Before you touch backups or file transfers, you need a clear strategy. This first phase is all about preparation and making sure every step that follows goes off without a hitch.
Think of it like drawing up a blueprint before you pour the foundation for a house. It saves a ton of frustration and prevents costly mistakes down the road.
A successful move starts long before you get technical. It begins with asking why you're moving in the first place. Are you looking for better performance? Tighter security? Customer support that actually responds? Defining these goals helps you look at potential hosts with a critical eye, cutting through the marketing fluff to find a partner that genuinely fits what you need.
Choosing the Right Hosting Provider
Honestly, picking a new web host is the most critical decision you'll make in this whole process. Your site’s speed, security, and uptime all hinge on this choice. Don't let those super-low introductory prices fool you; look at the long-term value and the features that actually matter for your website.
A small blog, for example, has completely different needs than a high-traffic e-commerce store. The blogger might just want something easy to use and affordable, while the online store needs rock-solid security, PCI compliance, and the power to handle holiday traffic spikes without breaking a sweat.
We put together an in-depth guide on how to choose the right web hosting service if you want to dive deeper into these factors.
When you're comparing your options, it's easy to get lost in the details. Here’s a quick table to help you focus on what really counts.
Hosting Provider Feature Comparison
| Feature | What to Look For | Why It Matters |
|---|---|---|
| Performance | SSD storage, CDN integration, multiple server locations | Faster load times are a huge deal for user experience and SEO. Having servers located closer to your audience also cuts down on lag. |
| Support | 24/7 access (phone, chat), knowledgeable staff | When your site breaks at 2 AM, you need competent help right away—not a support ticket that sits in a queue for hours. |
| Security | Free SSL certificates, automatic backups, malware scanning | Good hosts are proactive about security. They protect your data and your customers' information from the constant threats out there. |
| Scalability | Easy upgrade paths, different plan tiers | Your host should be able to grow with you. As your traffic increases, you need to be able to add more resources without a major headache. |
At the end of the day, you're not just buying server space; you're investing in a platform that will power your online presence. Choose wisely.
Inventory Your Entire Website
Before you can pack up your site, you need to know exactly what you’re packing. It's surprisingly easy to overlook a critical component—a custom plugin, a third-party API connection, or a specific server configuration—that can completely break your site on the new host.
Make a detailed list that covers everything:
- Core Platform: Write down the specific version of your CMS (e.g., WordPress 6.4).
- Plugins & Extensions: List every single one, its version, and what it does. Are any licensed or tied to your old hosting account?
- Themes: Document your current theme, any child themes you're using, and any custom CSS you've added.
- Custom Code: Did you or a developer ever modify core files or add custom PHP snippets? These are the things that get forgotten and cause major headaches.
- Third-Party Services: Make a note of integrations like payment gateways (Stripe, PayPal), email marketing tools, or analytics platforms.
Pro Tip: This inventory isn't just a one-time thing for the migration. It’s an incredibly valuable document for future maintenance, troubleshooting, and security audits. Keep it somewhere safe and update it.
Schedule for Minimum Impact
Timing is everything. You want to make the switch when your site has the least amount of traffic to minimize disruption for your visitors.
Dive into your analytics data to find your off-peak hours. For most businesses, this is usually late at night or over the weekend.
Scheduling the migration during this quiet period gives you a much larger window to move everything, test thoroughly, and fix any weird issues that pop up without affecting most of your users. It’s all about being strategic to make the transition as seamless as possible.
Creating a Bulletproof Website Backup
Before you touch a single file, you need a safety net. A complete, verified backup is your absolute, non-negotiable insurance policy against data loss, corruption, and those inevitable "oops" moments that crop up during any migration.
Think of your website as two distinct pieces: the files (themes, plugins, images) and the database (posts, pages, user info). You need a perfect copy of both. Period.
Choosing Your Backup Method
A lot of people think a backup is a simple one-click deal, but it's a bit more involved than that. The best method really just depends on your own technical comfort level and what your current host offers.
For most folks on standard hosting plans, the built-in backup wizard in cPanel is a solid place to start. It usually spits out a compressed .zip or .tar.gz file with your entire home directory and a separate SQL file for your database. Easy enough.
If you’re running a WordPress site, plugins are your friend. Tools like UpdraftPlus or All-in-One WP Migration are popular for a reason—they turn a complicated process into a few clicks right from your dashboard. They package everything up neatly, which is incredibly convenient.
But if you're like me and want maximum control, a manual backup is the gold standard. It’s a two-step dance:
- Download Files via FTP: You'll use an FTP client like FileZilla to connect to your server and pull down the entire
public_htmldirectory (or whatever your main folder is called). This gives you a direct, local copy of every single file. - Export the Database with phpMyAdmin: This is a web-based tool that lets you poke around in your database. You just select your site's database, hit the "Export" tab, and download it as an SQL file.
This hands-on approach guarantees you have direct, uncompressed access to every component of your site. That can be a real lifesaver if you need to troubleshoot something down the line.
Verification: The Step Everyone Skips
Here’s where migrations often go sideways: assuming the backup is perfect without actually checking it. A backup is only good if it's complete and uncorrupted. Skipping this part is like packing a parachute without checking if it opens.
Don’t just make a backup; prove it works. An untested backup is just a hope. A verified backup is a plan.
Once you have the files on your local machine, take five minutes to do these simple checks:
- Inspect the File Archive: If you have a
.zipof your website files, try unzipping it. Do you see your folder structure (wp-content,wp-admin, etc.)? Do the folder sizes look right? A zero-byte file or an archive that throws an error is a massive red flag. - Examine the Database Export: Open your
.sqlfile with a plain text editor like Notepad++ or VS Code. Important: avoid word processors like Microsoft Word, as they can corrupt the file. You don’t need to be a database guru, but you should see recognizable text, like table creation commands (CREATE TABLE) and maybe even snippets from your blog posts. If the file is empty or just gibberish, the export failed.
This takes almost no time but can save you hours of panic later.
Securing Your Backup Data
Your backup contains everything—including potentially sensitive user data. You have to store it securely. I always download at least two copies and stash them in separate, safe locations. One on my local computer, and another on a cloud service like Google Drive or Dropbox.
This redundancy protects you from a single point of failure, like a hard drive dying at the worst possible moment. While you're at it, it’s a good time to brush up on your data protection habits. For a deeper dive, our guide on database security best practices has some practical tips for keeping your info safe.
For the ultimate defense, especially against modern threats, you can go a step further. Beyond standard backups, strategies like Immutable Backup Solutions for Ransomware Defense can make your data untouchable, ensuring your migration backup is truly bulletproof.
Moving Your Files and Database
Alright, with your backups safely tucked away, we're ready for the main event. This is where you actually move the two core components of your website—the files and the database—from the old server to their new home. Getting this part right is what a smooth migration is all about.
Think of this as two parallel tasks. First, you'll be transferring all of your site's files, which is everything from the WordPress core itself to your themes, plugins, and all those images you've uploaded over the years. At the same time, you'll move the database. That's the brain of your site, holding all your content, settings, and user information.
Transferring Your Website Files
The most dependable way to shuttle your files across is by using a File Transfer Protocol (FTP) client. FTP is just a dedicated bridge between your computer and the web server. A go-to tool for this is the free and popular FileZilla, but honestly, any FTP client will do the trick.
The process itself is pretty straightforward:
- Connect to Your Old Host: First, you'll log in using the FTP details from your old hosting provider. You should see your website's file structure, which is almost always inside a folder named
public_htmlorwww. - Download Everything: Drag that entire
public_htmlfolder (or all the files inside it) from the server panel over to a designated folder on your computer. Fair warning: this can take a while, depending on how big your site is and your internet speed. Grab a coffee. - Connect to Your New Host: Once the download finishes, disconnect from the old server. Now, use your new host's FTP credentials to log in there.
- Upload Everything: Find the root directory on the new server (again, it's probably
public_html) and drag all the files from your computer's folder over to the new host. You want to make sure the folder structure is an exact mirror of the old one.
This infographic gives you a high-level view of securing your site's components before the move.
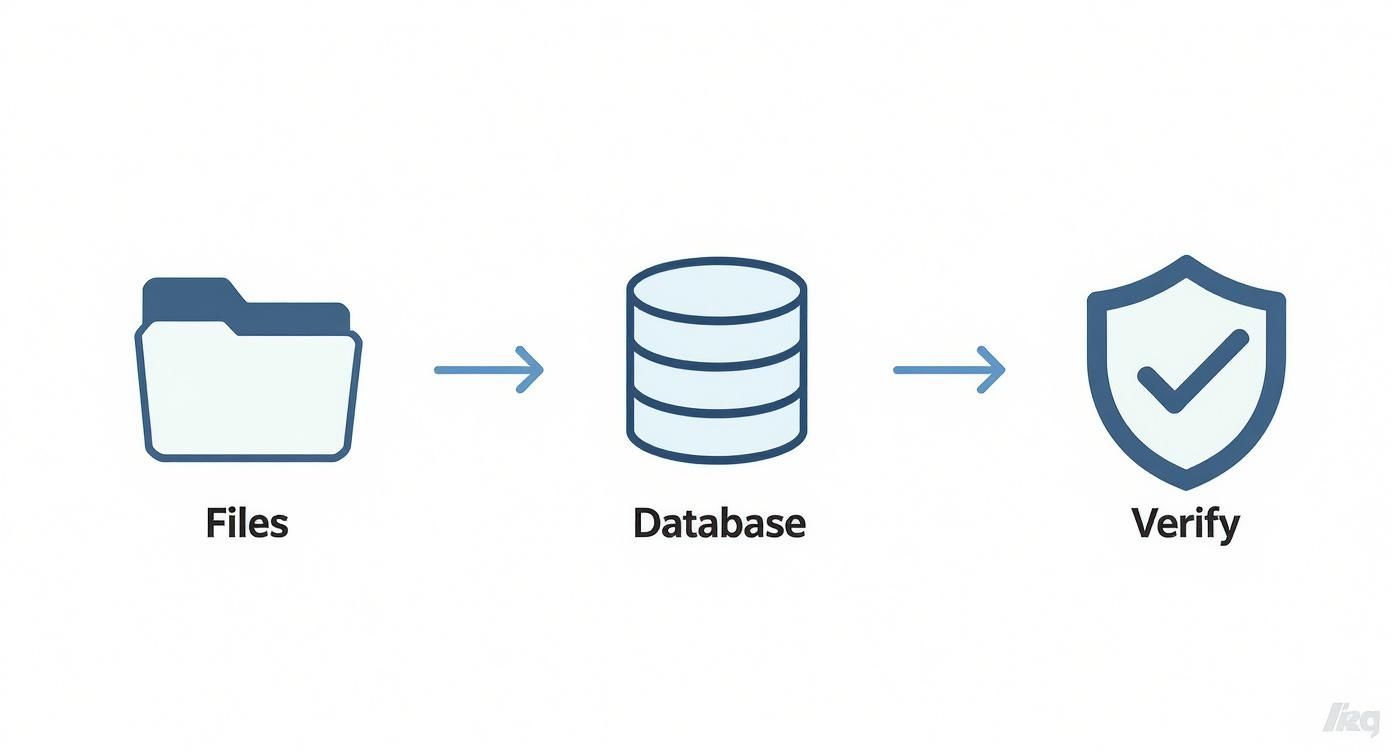
It really drives home the point that you're handling two separate but equally vital assets: your files and your database. Verifying everything at the end is the final, critical check.
Moving the Brain: Your Database
While your files are uploading, you can get a head start on moving the database. This almost always involves a tool called phpMyAdmin, which is a web-based interface for managing MySQL databases. It’s a standard feature on pretty much every hosting account out there.
The process is a classic export-and-import. It’s not unlike other kinds of migration you see in the world. Just as you’re moving digital assets, global migration trends tracked by organizations like the Migration Policy Institute show millions of people resettling across borders, which has a huge impact on their lives and communities. Your digital migration follows a similar pattern, just with data instead of people.
First, you need to set up a new, empty database on your new hosting account.
- Log in to your new host's control panel (like cPanel or Plesk).
- Look for an icon called "MySQL Databases" or something similar.
- Create a new database and give it a name.
- Then, create a new database user and give it a strong password.
- Finally, add that new user to the new database, making sure to grant it "All Privileges."
Crucial Tip: Write down the new database name, username, and password immediately. You will absolutely need these exact details in the next step to get your site working again.
With the new database ready, you can move the data:
- Export from the Old Host: Log in to phpMyAdmin on your old host, select your site's database from the panel on the left, and click the "Export" tab. The default "Quick" export method and "SQL" format are almost always what you need. Click "Go," and it will download a
.sqlfile to your computer. - Import to the New Host: Now, log in to phpMyAdmin on your new host. Select the empty database you just created, click the "Import" tab, choose the
.sqlfile you downloaded, and click "Go."
Connecting the Dots: Configuration File Updates
Your files and database are now sitting on the new server, but they have no idea how to talk to each other yet. The final, critical piece of the puzzle is updating your site's configuration file with the new database details.
For a WordPress site, this file is called wp-config.php, and you'll find it in your site's root directory. You can edit it right in your host's File Manager, or download it via FTP, edit it locally, and upload it again.
Open wp-config.php and look for these lines of code:
define( 'DB_NAME', 'old_database_name' ); define( 'DB_USER', 'old_database_user' ); define( 'DB_PASSWORD', 'old_database_password' );
You need to carefully replace the old values with the new database name, username, and password you created a moment ago. Once you save this file, your website's files will finally be connected to its database on the new server. This completes a major milestone in how to migrate a website to a new host.
Testing Your Site Before Going Live
Right now, your website is living a double life. Your files and database are all set up on the new server, ready to go, but your domain name still points to the old one. This is the perfect time for a full dress rehearsal before the big reveal.
You need a way to see your site on the new host before anyone else does. The secret is a small but powerful trick that temporarily tells your own computer to look at the new server instead of the old one, all without affecting what the rest of the world sees.
Using the Hosts File for a Private Preview
Every operating system has a local hosts file. It's a simple text file that works like a private address book for your computer, letting you manually map domain names to specific server IP addresses.
By adding a single line to this file, you can tell your browser, "Hey, when I type in my domain, ignore what the public internet says and go to this new server address instead."
This trick lets you click through every page, test every feature, and kick the tires on your newly migrated site in a completely private environment. Meanwhile, your actual visitors are still being served the old site, completely unaware of the work happening behind the scenes.
For macOS Users:
- Open the Terminal application.
- Type
sudo nano /etc/hostsand hit Enter. You'll probably need to enter your computer's password. - At the bottom of the file, add a new line with your new server's IP address, a space, and then your domain name.
For Windows Users:
- Search for "Notepad," right-click it, and choose "Run as administrator."
- In Notepad, go to
File > Openand navigate toC:\Windows\System32\drivers\etc. - You'll need to change the file type dropdown from "Text Documents" to "All Files" to see the
hostsfile. Open it up. - Add the new line at the bottom, just like in the macOS example.
Once you save the changes, your computer will immediately start sending your requests for that domain to the new server. Just remember to remove that line after you're done testing!
Your Comprehensive Pre-Launch Checklist
With your private preview up and running, it's time for a thorough quality assurance check. Don't just glance at the homepage and call it a day. A few broken links or a contact form that goes nowhere can seriously damage user trust right out of the gate.
If you want to get really sophisticated for future updates, you can also explore various zero downtime deployment strategies.
Use this checklist as your guide. Go through it methodically to catch any gremlins before you make the official switch.
- Core Functionality: Do all your essential features work as expected? Test things like user logins, search bars, and any interactive elements on the site.
- Links and Navigation: Click every single link in your main menu, your footer, and within your most popular pages. Broken links are an incredibly common casualty of site migrations.
- Forms: Fill out and submit every form on your website—contact forms, newsletter signups, quote requests, you name it. Then, check to make sure the submissions actually arrived where they were supposed to.
- Images and Media: Browse through your image galleries and blog posts. Are all pictures, videos, and downloadable files loading correctly?
- E-commerce Workflow (if applicable): This is absolutely critical if you run an online store. Go through the entire purchase process: add a product to the cart, head to checkout, and complete a test transaction to ensure everything is seamless.
A rigorous testing phase is the final firewall between a smooth migration and a post-launch panic. Finding a bug now is a minor inconvenience; finding one after you go live is a customer service crisis.
This detailed review process is a cornerstone of professional web development. For a deeper dive into building a robust testing framework, check out our guide on quality assurance best practices.
Once you're confident everything is working flawlessly, you're ready for the final step.
Updating Your DNS for a Seamless Switch
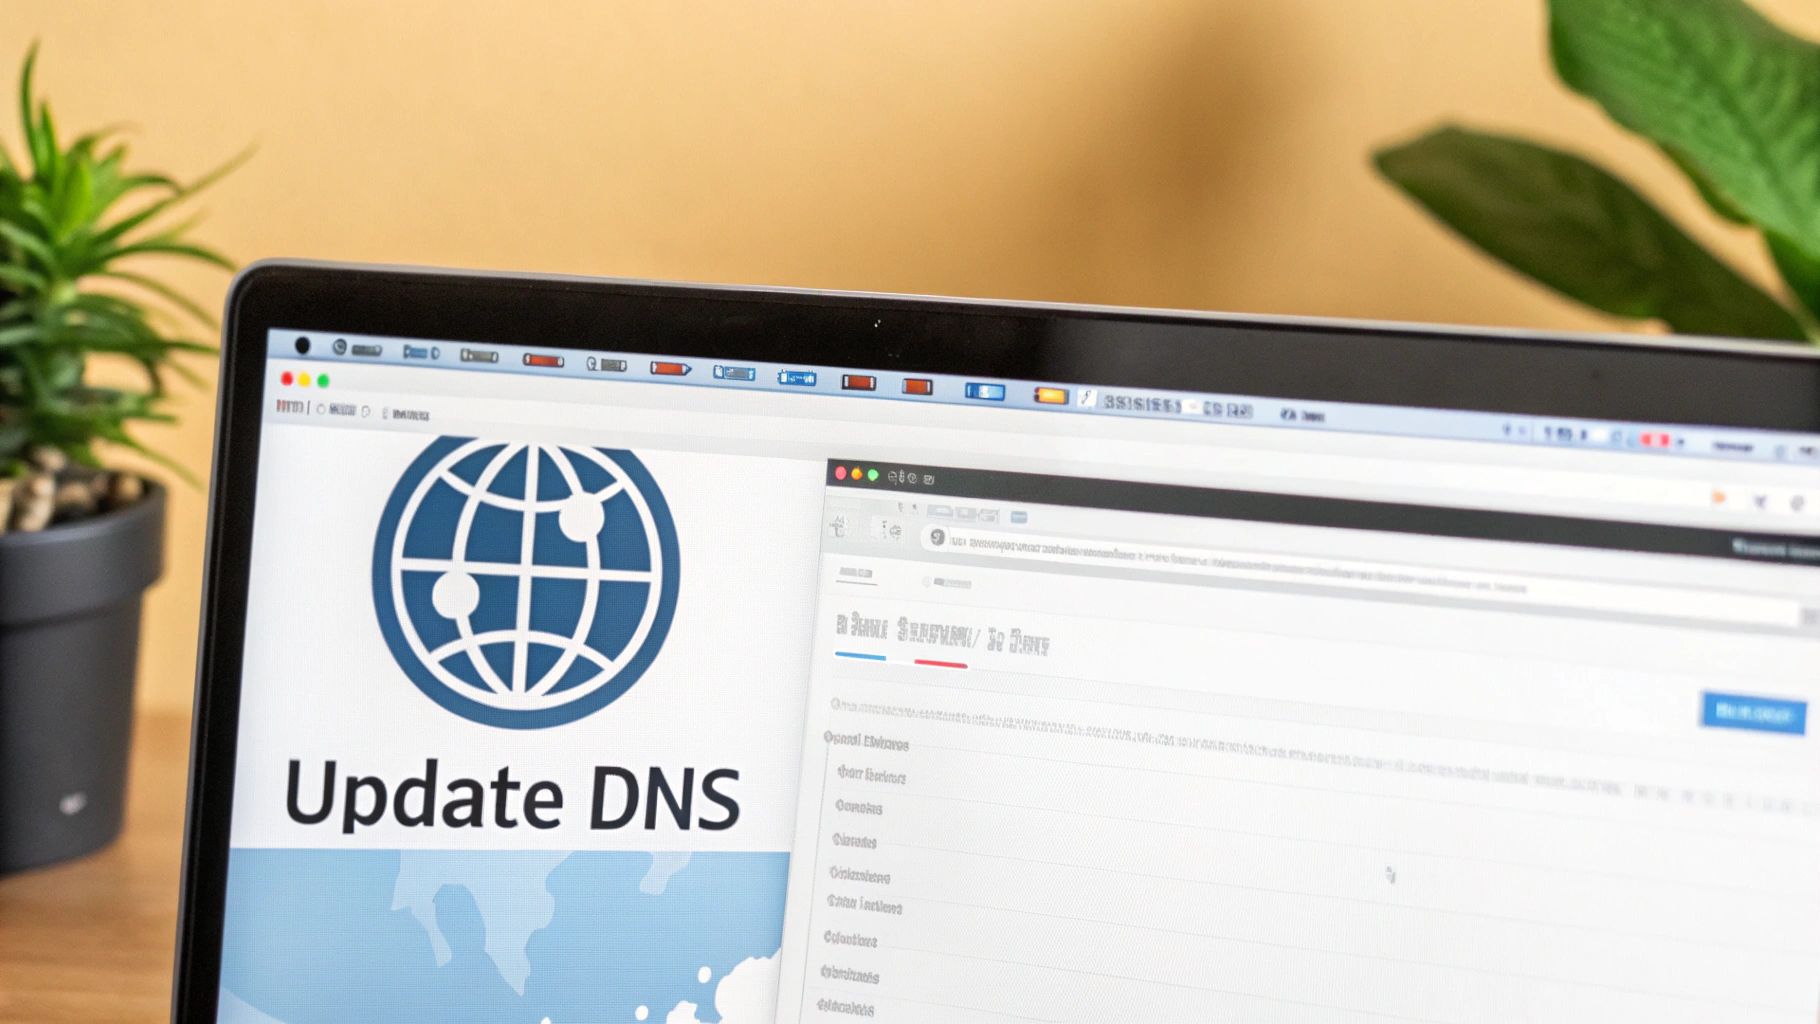
Alright, this is the moment of truth. After all the careful backing up, file transfers, and testing, it's time to officially flip the switch. Updating your Domain Name System (DNS) records is the final step that tells the entire internet where to find your website's new home.
Think of DNS as the internet's global address book. Right now, your domain name (the contact) is listed with the address of your old server. We're about to give it a forwarding address.
What to Expect During DNS Propagation
Once you update your DNS records, the change isn't instantaneous for everyone across the globe. This brief waiting period is called DNS propagation. It's the time it takes for internet servers worldwide to get the memo and update their records with your new information.
This process can take anywhere from a few minutes up to 48 hours, but in my experience, it's usually much faster. During this time, some visitors might still land on your old site while others see the new one. This is totally normal and exactly why you did all that testing beforehand.
Finding and Updating Your Nameservers
Your new hosting provider will give you a new set of nameservers. They typically look something like ns1.newhost.com and ns2.newhost.com. You can usually find these in your welcome email or sitting somewhere obvious in your new hosting dashboard.
Got them? Good. The next part happens at your domain registrar—the company where you actually bought your domain name, like GoDaddy, Namecheap, or Google Domains.
Here’s the drill:
- Log in to your account at your domain registrar.
- Find the DNS or nameserver management section for your domain. It's often buried under "Domain Management."
- Carefully replace the old nameservers with the new ones from your host.
- Hit save and confirm the update.
And that's it. You've officially kicked off the final step of your website migration. Now, all you have to do is wait for propagation to finish its work.
Takeaway: It's easy to get confused, but your domain registrar and your web host are often two separate companies. You bought the name from the registrar; you're renting space from the host. The DNS update always happens where you manage the name.
A Pro Tip to Speed Things Up
Want to make the transition even smoother? Here’s a little trick I've used for years: lower your TTL (Time to Live) values about a day before you plan to migrate. TTL is a setting that tells servers how long they should "remember" your DNS information before checking for an update.
By default, this is often set to 24 or even 48 hours. If you change it to a much lower value, like 300 seconds (that’s 5 minutes), you're basically telling servers to check back for changes far more often. This can dramatically speed up how quickly your visitors see the new site once you make the final switch.
This whole process of getting servers around the world to agree on your site's new location is a small-scale version of much bigger data-sharing challenges. For instance, organizations like the OECD are constantly working to improve how international migration statistics are shared and standardized to inform policy. It’s a similar concept—getting a distributed network to agree on the correct, up-to-date information.
Common Website Migration Questions
Even with the best plan, moving a website can feel like a big deal. It's totally normal to have a few questions rattling around before you pull the trigger. Let's walk through some of the most common ones I hear from clients.
How Long Does a Website Migration Take?
This is always the first question, and the honest answer is: it depends. I’ve seen small blogs move in a couple of hours, but I've also managed large e-commerce stores with tons of customer data that took a full day or more.
A few things really dictate the timeline:
- Site Size: This is the big one. The more files you have and the bigger your database, the longer it takes to download and re-upload everything. Moving a 10GB site is a completely different beast than a 500MB one.
- Server Speeds: The connection speeds of both your old and new hosting providers play a huge part. Slow servers can turn a quick job into a long wait.
- Your Internet Connection: Don't forget your own internet speed. You’re the middleman here, so your upload and download speeds matter.
The final piece of the puzzle is DNS propagation. This is when the internet's address book updates with your new server location. It can take up to 48 hours to fully complete around the world, though in my experience, it's usually much faster.
Key Insight: Even if the hands-on work only takes a few hours, always plan for a 48-hour window for the DNS changes to settle everywhere. It’s better to be prepared for the maximum time and be pleasantly surprised when it's quicker.
Will Migrating My Website Hurt My SEO?
This is a huge concern for anyone who's put in the work to rank on Google. The good news? If you do it right, a website migration should have minimal to no negative impact on your SEO.
The entire process we've mapped out is designed to protect your hard-earned rankings. The keys to keeping your SEO intact are pretty straightforward:
- Avoiding Downtime: By testing everything on the new server before you flip the DNS switch, you make sure that users—and search engine crawlers—always find a live, working site.
- Maintaining URL Structure: This is critical. You want to keep every single page URL exactly the same. If for some reason you absolutely have to change them, setting up 301 redirects is a must. No exceptions.
- Ensuring a Perfect Transfer: Every last piece of content, from your blog posts down to the meta descriptions, has to come over perfectly. No broken bits, no missing images.
After the move, I always recommend keeping an eye on Google Search Console. Check for any new crawl errors and jump on them quickly.
What Is the Safest Way to Migrate a Website?
The safest way to move a site with zero downtime comes down to a simple but powerful idea: test everything in private before you go public.
The gold standard here is using your local hosts file to preview the site on its new server. This little trick lets you see and interact with the site as if it were live, but only on your own computer.
This gives you a chance to hunt down and fix any broken images, wonky forms, or database connection problems without your visitors ever knowing anything is happening. Once you've clicked through every page and confirmed the site is a perfect, working clone of the original, then you update your DNS records. Your audience just seamlessly transitions from the old working site to the new working site.
Can My New Host Migrate My Website for Me?
Yes, and this can be a lifesaver. Many hosting providers offer website migration services, often for free, as a way to win your business. If you're not comfortable with the technical side of things, this is an excellent option.
Most good managed hosts will include at least one free cPanel-to-cPanel transfer. For more complicated sites or setups that aren't so standard, they might offer a paid migration service. It never hurts to ask your new host what they can do for you—it could save you a ton of time and stress.
At Up North Media, we know that a smooth, reliable digital presence is non-negotiable. If you need a more hands-on approach to your web development or a strategic partner for your next big project, we’re here to help. Contact us to learn how we can build a powerful web application or improve your digital strategy.
Learn more at https://upnorthmedia.co